BrightWork supplies best-practice project management templates. Sometimes, you’ll need to configure these templates. One of the most popular ways is to add a new column.
However, when you add a column, SharePoint appends this to the bottom of the form. This may not create a good user experience. Thankfully, in SharePoint List Settings you can change the SharePoint form order to suit your requirements – without the need for InfoPath or SharePoint Designer.
Configuring SharePoint Form Order
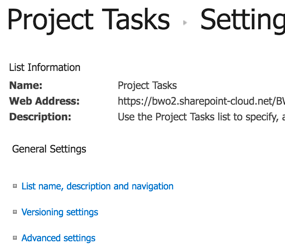
To change the column order of columns in a list form (Risks, Issues, Goals, etc.), start by clicking on the name of the list in the Quick Launch down the vertical side of your project site, and click on ListList Settings in the Ribbon at the top:

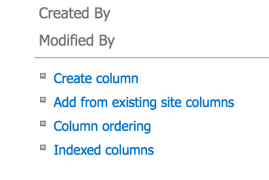
Towards the bottom of the next screen you’ll see the option “Column ordering”:

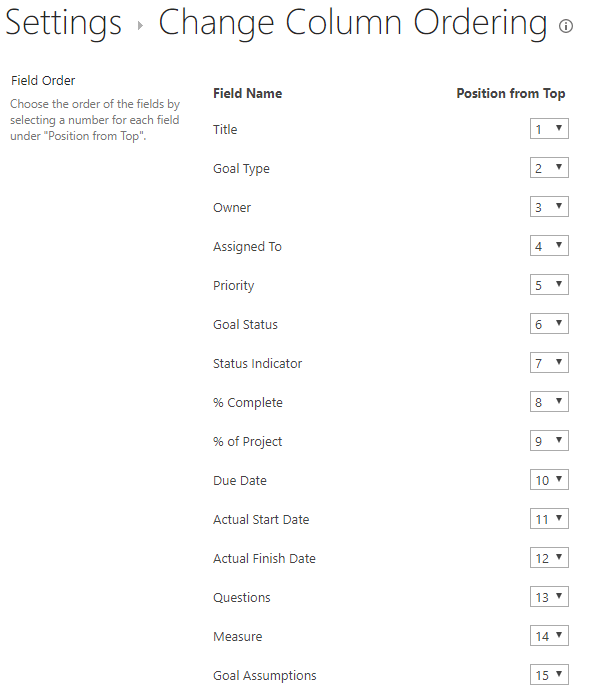
On the column ordering screen simply change the number of the position of the column you’re interested in (the lower the order number, the higher it will display in the form):

Configuring SharePoint Form Order – Tasks
If you’re doing this in the Project Tasks list, or a list that was created from the Project Tasks list but with a different name perhaps, you will need to take a few extra steps.
Click on List Settings as described above, then click Advanced Settings towards the top of the screen:

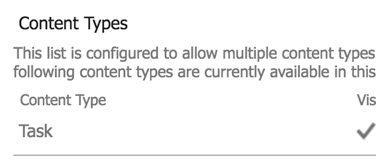
On the next screen set “Allow management of content types” to Yes, and after clicking OK to exit the screen you will see a “Task” content type in the middle of the screen:

Click on the “Task” content type, and you will see an option to change “Column order” at the bottom of the screen; proceed to change the column order as described above, and save your changes:

