Team Member
In this training guide you will learn a number of BrightWork’s main features. The aim of this Team Member Training Guide is to equip you with knowledge on how to use BrightWork effectively as a Team Member.
Sections:
1. Training Introduction
BrightWork is a SharePoint solution for managing work and projects of varying sizes and types. BrightWork includes a set of project management templates, web parts, dashboards, tools, and lists that mimic the reality of the varying degrees of work and project management found in most organizations today.
Who is this Guide for?
This guide is aimed mainly at team members; however, any member of the organization who will be using BrightWork, and is new to SharePoint, should also complete this guide.
Training Introduction
With automated work assignment emails and My Work dashboards, team members never lose sight of their work and no longer have to prepare status reports. Apart from actually doing their work, all team members have to do is keep their work up-to-date in a web form or an Excel-like datasheet.
Prerequisites
We suggest you read the “SharePoint Basics” section of the Introductory Guide to familiarize yourself with the fundamentals of SharePoint and BrightWork sites.
To get maximum benefits from this training, your project manager should have assigned you some work items in the Hardware Upgrade site in the Training Area. You should confirm with your project manager that this is the case before starting your training.
There are no other prerequisites for this training session, but reviewing the BrightWork overview movie would be useful.
Suggested Exercises
At the end of most chapters you will see some Suggested Exercises that you should be able to complete on your own, based on what you have just done. You will apply the steps you learned throughout the chapter in order to complete the suggested exercises. We strongly recommend you complete these suggested exercises as they will help to reinforce what you have learned.
2. Find Your Training Site
Find Your Training Site
To find your training site:
- Click Training Area on the Top Link Bar.
- Click Hardware Upgrade on the Project Hierarchy web part.
3. Find Assigned Work
In this section, you will learn about the various ways you can find your assigned work in BrightWork. If you are used to a project management environment where work is assigned and managed via email, you will know that keeping track of this work can be tough. BrightWork makes this easy by providing several ways to find your assigned work
My Work Dashboards
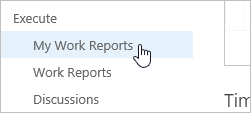
The My Work reports, available from a link on the Quick Launch, are reports that display and link to all the work items owned by, or assigned to, the logged in user (i.e. you). Unlike standard SharePoint views, it can display work items from multiple lists and sites in a single report.
To access this report, click My Work Reports on the Quick Launch of the Hardware Upgrade site.
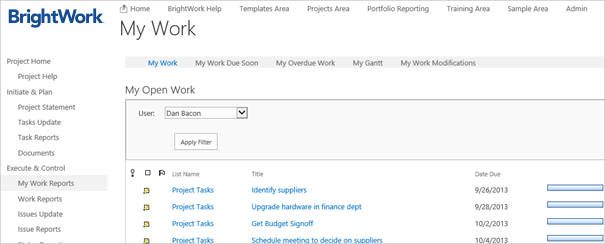
Note: If your manager has not assigned you any work items for this training, the report will be blank. The My Work report also includes the ability to select another user and view their assigned work items.
Some other reports are also available from the default My Work report set, including:
- My Work Due Soon
Displays the work of the logged in user due in the next 7 days or already overdue, and allows the selection of another user from a drop-down menu and/or the specification of a different Due Date.
- My Overdue Work
Displays the work of the logged in user due today or earlier and allows the selection of another user from a drop-down menu.
- My Gantt
Displays the work of the logged in user as a Gantt style report and allows the selection of another user from a drop-down menu.
- My Change History
Displays the items you have been the last modifier of in the last seven days and allows the selection of another user from a drop-down menu and/or the specification of a different Modified Since date.
My Work Email
Reports such as the My Work report can be emailed automatically, or from the report user interface.
Scheduled Email Notifications
It is possible that the project manager will have an automated email setup so that you receive an email summary of your work items for one or more projects on a periodic basis (e.g. every Monday morning). All you need to do is click the relevant link to get back to the work item or list of items.
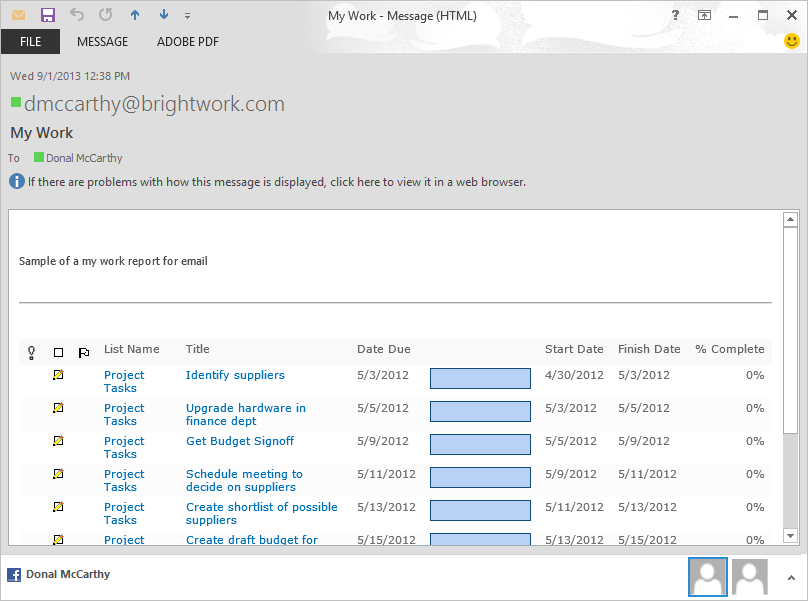
As well as being emailed on a scheduled basis, the My Work report (and other reports) can also be emailed from the interface on-demand.
Note: If the My Work report is empty, instead click Work on the Quick Launch and email the Open Work report.
- Click in the My Work report header and then the Reporter tab to activate the Reporter ribbon.
- Click the Email button.

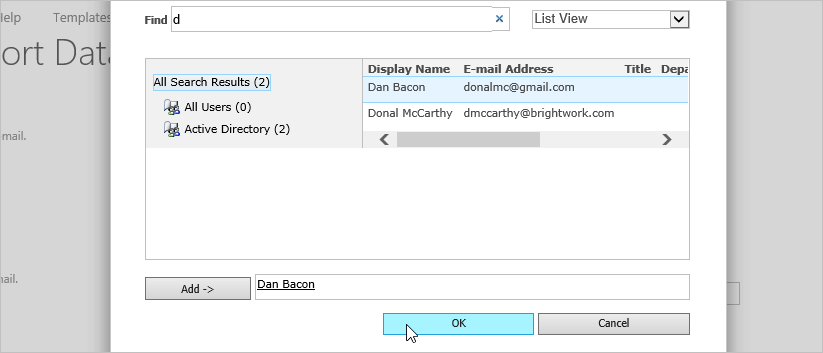
- Click Browse to open the people picker dialog.

- Enter the first letter in your name in the find field and click Return on your keyboard.
- Double-click your name and click OK.

- Enter a Subject and Body message.
- Click Send.
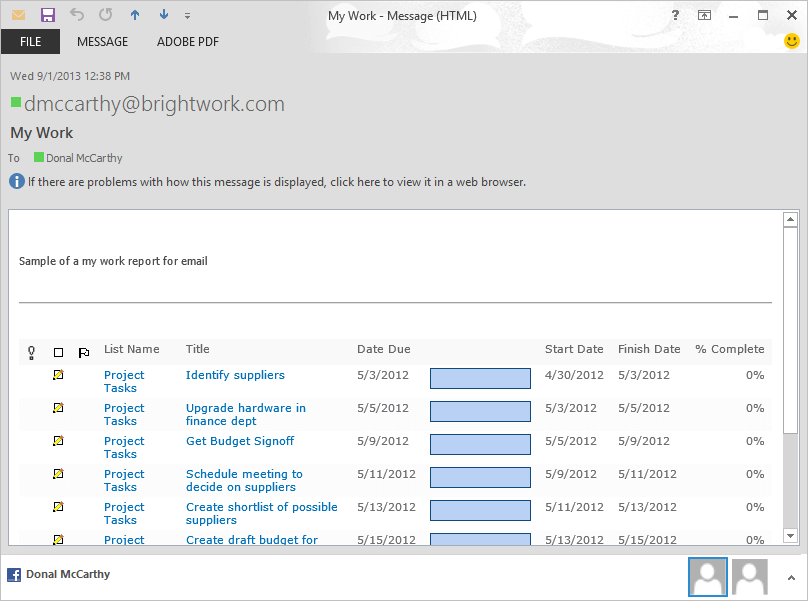
You should receive an email similar to the one below.
Email Notification on Work Assignment
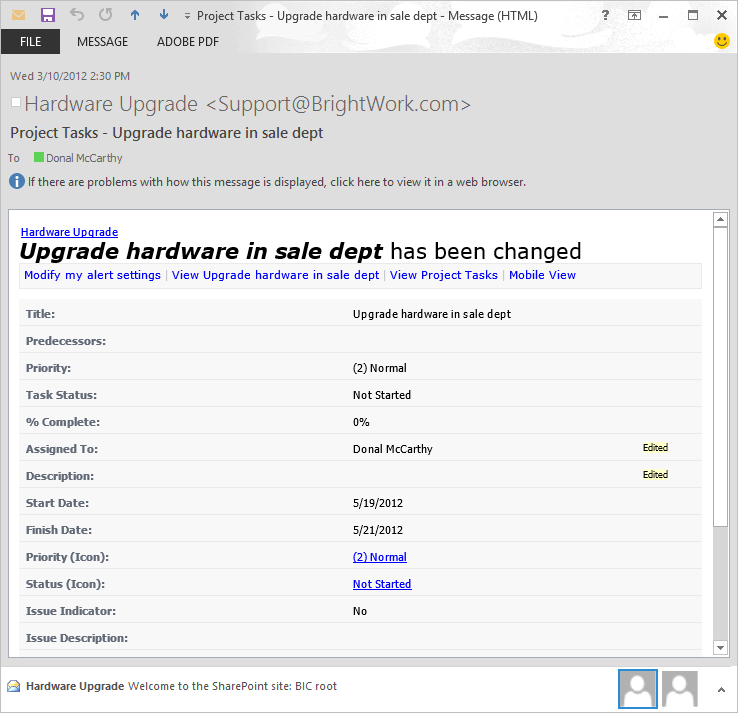
Note: Email notification on assignment is an optional setting that the project manager may or may not enable.
SharePoint Alerts
If your project manager has not enabled auto-email on item assignment, you can sign up for alerts yourself on a list by list basis.
- Click Issues Update on the Quick Launch.
- Click List | Alert Me | Set alert on this list.

- Select the appropriate option (e.g. An Issue is assigned to me) and click OK.

Suggested Exercise
4. Create A Personal Report
In this exercise, you will create and work with a personal report. BrightWork comes with an extensive set of cross-project reports. These reports are set up in a generic way. As a team member, you will have your own specific reporting needs, and BrightWork allows you to cater to these needs.
Create a Personal Report
The My Work report you saw in the previous exercise was created to show the logged in user the open work items assigned to them. You may have a need for a report that is not included in the available set. In BrightWork, you can create a personal report tailored just for you. This report is visible only to you and you are able to toggle between it and the default version of the report. For example, the Overdue Items report from the Hardware Upgrade site home page shown here shows items for all users. It would be more useful if it just showed the items relevant to you.
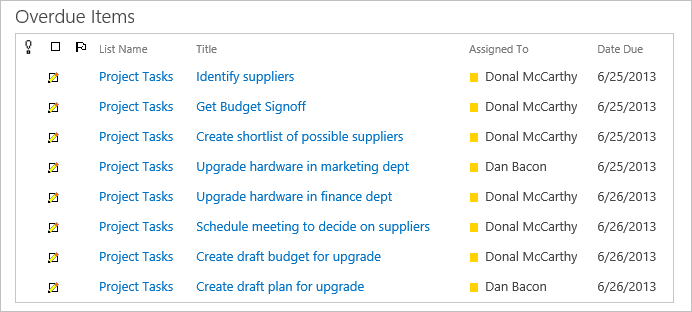
To do this:
- Click Project Home to return to the Project Home page.
- Click in the Overdue Items report header and then the Reporter tab to activate the Reporter ribbon.
- Click the Filters button in the Personalize this Report group.

- Create the below filter:
- Select Assigned To from the Column Name menu.
- Select is equal to from the Comparisons Type menu.
- Enter [Me] in the Comparison Value field.

Note: For more information about creating filters, see the Reporter Filter help article.
- Click OK.
The Report will load and show only the items assigned to you.
Next, you will customize the report a little more to meet your needs.
- Click in the report again to activate the Reporter Tools ribbon.
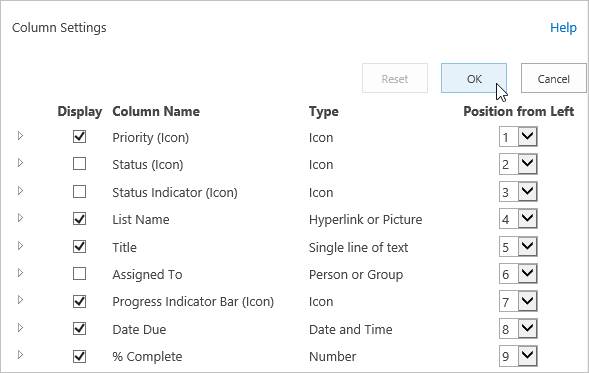
- Click the Columns button and deselect the Status (Icon), Status Indicator (Icon), and Assigned To Columns.
- Select the % Complete column.
- Click OK.

The report will load with your personal settings. This is the report that loads when you visit the page.

Toggle between a Personal and Shared Report
It is very important to remember that the personal report is the report that will load first whenever you visit the page. There will be no indication of this when you land on the page. The only way to tell if a report is actually a personal one is to click on the report header to expose the Reporter Tools ribbon.
If the displayed report is a personal one, the Personal button will light up.
Click the Shared button to toggle back to the original shared version.
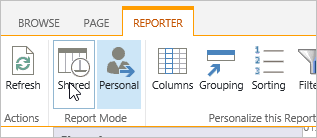
Reset a Personal Report
You can reset a personal report back to its default state by clearing your personal settings.
- Click Columns in the Personalize this Report section.
- Click Reset.

- Click OK to confirm.
- Click the Filters button in the Personalize this Report section.
- Click the Reset button.

- Click OK to confirm and the report will now default back to the Shared version.
Note: For an alternative method to quickly clear your personal report settings and default back to the shared report, see this Help article.
Suggested Exercise
5. Manage Work and Documents
In this section you will learn how to keep the details of your work items up-to-date, log issues, and use document libraries.
Update Progress on Assigned Work
As a team member, your main responsibility is updating the progress on your assigned work items (and of course to do your actual work!). You should do this regularly so your project manager will have the most up-to-date information to help them manage the project. If you do this often, you will no longer have to prepare status reports; the project manager will be able to use the BrightWork reports to see how your assigned work is progressing.
You can update work items one by one in a list or simultaneously update multiple items using the Datasheet view.
Form Based Update
Form based update means using the form belonging to the list. In this exercise, you will update progress on a single work item and mark them as an issue.
- Click Tasks Update on the Quick Launch.
- Choose a task and select Edit Item from the list item’s drop down menu.

OR
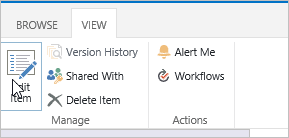
Click on the item to open it and click Edit Item on the list item’s tool bar.
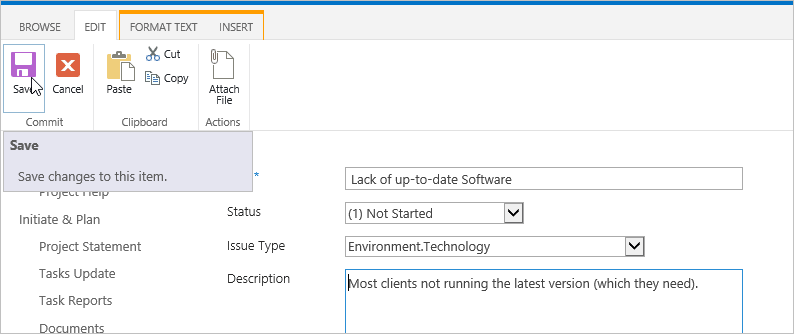
- Make some changes, including updating the % Complete and selecting the Issue Indicator and adding an Issue Description.
- Click Save.

Note: Selecting the Issue Indicator means that the task will now display in Issue reports: this is a useful way of notifying the Project Manager that an item requires further attention.
Quick Edit Based Update
The Quick Edit is a spreadsheet-like view where you can update several items at once.
- Select edit this list.

- Experiment with the Quick Edit- it is quite similar to a spreadsheet in that you can drag and drop values down a column.
- Make changes to multiple items.
- Click Stop editing this list to return to the default view for the list.
Create an Issue Item via Form Entry
Not all project issues relate to specific work items and you may need to create a specific issue item about something that threatens the success of the project.
- Click Issues Update on the quick launch.
- Click new item.

- Fill out the form with some details.
- Make yourself the assignee and your manager the owner.
- Click Save.

Use Document Libraries
Document libraries are collections of files that you can share with team members. Users with Microsoft Office can check out and edit the files as if they were on a local or network drive.
Upload a Document
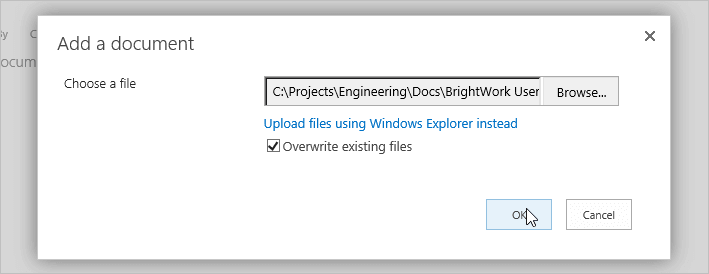
- Click Documents on the Quick Launch.

- Click new document.

- Click Browse, navigate to a Word document on your computer, select it and click Open.
- Click OK.

Note:You can also drag a file into the document library
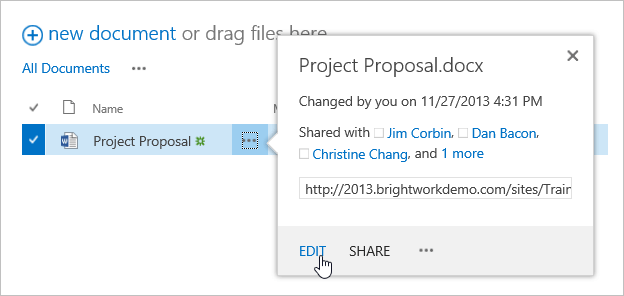
Edit a Document in a Library
- Click Edit on the document menu.

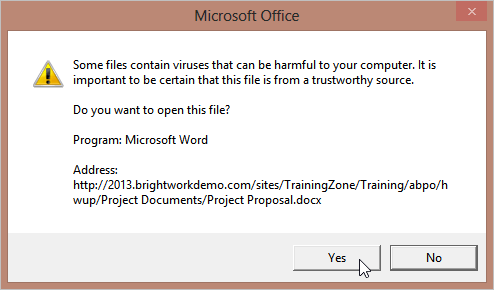
- Click OK.

- Enter your login credentials, if asked.
- Make some modifications to the document and save and close it.
Note: For more detailed information, please see the Microsoft Introduction to Document Libraries article.
Suggested Exercises
- Update several columns in a Task item via Form Entry.
- Update several columns in a Task item using the Datasheet View by clicking “edit this list” at the top of the Tasks list.
- Create a new Issue via Form Entry.


